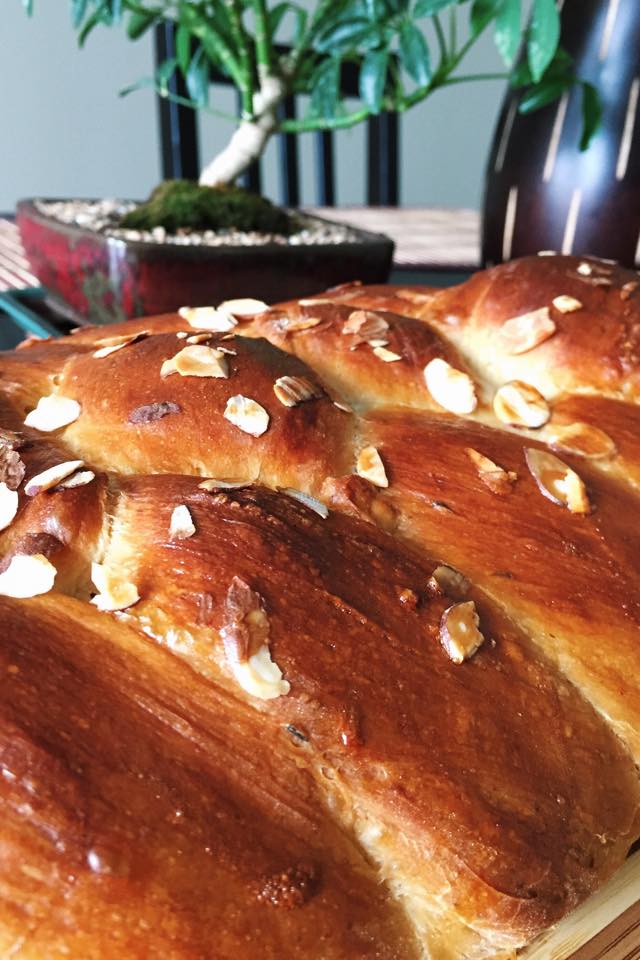
Challah bread, or “Vianočka”, which is how I knew it growing up, has always been one of the common, mildly sweet breads in pretty much every Slovak household. Crust nice and golden brown that was slightly flaky but the inside was so soft and fluffy like your favorite cushion. Ok, maybe not the best metaphor but am sure you get the idea. 🙂Depending on where you live in US, you may find one in some grocery stores but somehow whenever I seem to crave one they are nowhere to be found, so I’ve decided to try and make my own. Making of challah bread isn’t all that hard, just expect the preparation to take several hours due to the need of letting your dough rise. Trust me, it’s worth the wait. Let’s get started:
Ingredients
- 2 tsp instant yeast
- 1 cup of lukewarm water
- 4 1/2 cups flour
- 1/4 cup granulated sugar
- 2 tsp salt (use 1 tsp if sea salt)
- 1/4 cup vegetable oil
- 2 eggs
- 1 egg yolk (save the white for egg wash)
- 1 tbs milk or water for egg wash
Instructions
- First dissolve your yeast in lukewarm water and about a teaspoon of sugar. You should see your yeast probably double in volume, if your yeast is still good. If you don’t see any foam forming, you may need to get new yeast and start again.
- Mix your flour, sugar and salt together.
- Add eggs, egg yolk and oil into the mix. This is the part where dough will start becoming very sticky. If you have a stand mixer with a dough hook attachment, you may just put it to work for you while making sure all flour is getting nicely incorporated.
- Add yeast and either let the machine do the kneading for your on low speed for about 6 minutes or do it by hand for about 10 minutes. If you find dough to be still very sticky, just add more flour, about a tablespoon at a time until you will be able to form a nice smooth and soft ball that can hold its form.
- Let the dough rise in lightly oiled bowl, covered with plastic wrap in a place that’s slightly warm for about 1 1/2 to 2 hours. I like to put boiling water in a dish on a lower rack in my oven, and place the dough right above it. Your dough should at least double in size.
- Divide your dough and roll into ropes. People tend to make challah with different amounts of ropes, some use 4, 6 or even 7 (2-tiered: bottom made with 4 and top with 3). It’s truly up to you. I braided mine with 6 ropes that were about 16 inches long.

- Now the fun part – braiding. Gather your ropes together and squeeze them at the top. Take the right-most rope over the two ropes next to it, slip it under the middle rope, and then carry it over the last two ropes. Lay the rope down parallel to the other ones. If you got this first step, just repeat this pattern until you reach the end of the loaf. As you work through the braiding, try to make your braid as tight as possible.
- Your challah may be a little long and skinny so you can “plump” it a little by putting your hands on each end pressing them gently together and lifting it with your fingers gently along the sides.
- Transfer your load onto a baking sheet that’s lined with parchment paper. I use my silicone mat, cover it with clean cloth or towel and place back to a warm spot. I put mine back to oven for another hour to rise.
- Take your challah out and start preheating oven to 350 F.
- While you are waiting for your oven to get preheated, you can brush your challah it with an egg wash. I prefer to use milk instead of water as it tends to give it nicer color. I also sprinkled it with some sliced almonds but those are optional. You can also try it with sesame seeds or poppy seeds.
- Bake for about 30-35 minutes while rotating the pan halfway through baking.
- If you can resist, let the challah cool on a cooling rack until just barely warm. Then you can start slicing and eating with your favorite toppings.